NIGHT TRAIN TO CHICAGO
It bugged me that I missed the train passing through the Royal Oak station earlier in the week when I was taking photos. We went back today at 6:00pm and waited for the night train to Chicago. The sun set at a little after 5:00pm so it was completely dark by the time the train arrived.

The train stopped for less than five minutes, so there wasn’t a lot of time to set up and get many shots.
The thought of riding the sleek train to Chicago on a cold starry night is appealing…
R.C. KRAUSMANN SERVICE STATION
I’ve been looking to shoot an old-school gas station and Mr. and Mrs. Krausmann were kind enough to let us have free run of their facility. Here’s the front of their station:

Mom and Pop service stations are disappearing all over the country, being replaced with convenience stores that also offer gasoline. R.C. Krausmann is different. It’s like stepping back into time where proprietors knew their customers by name and cared about them. The Krausmanns are a couple of the friendliest people I’ve ever met.
Here’s another shot of the station and one of the service bays:


The Krausmann station has been operating in Grosse Pointe Park, Michigan for over 60 years and is still going strong.
World War Z
The trailer for the Brad Pitt produced World War Z came out last week. I’ve watched it about four times, and I think it’s cool. The movie’s been plagued by production and script problems, even going so far to hire a new screenwriter halfway through production. This delayed the movie from being released in November 2012 to June 2013. That’s a big deal and a ton of money. I like the trailer, really like Mireille Enos and I think Brad Pitt is a cool guy. Here’s a link to the trailer, if you haven’t seen it:
http://www.imdb.com/title/tt0816711/
So what’s the big problem? Common opinion says it’s not accurately reflecting the book. I did a little research why there were production issues and here’s what I found on some blogs:
1. The script is not close to the novel:
2. The script is not close to the novel:
http://drezner.foreignpolicy.com/posts/2012/11/10/why_world_war_z_scares_me_and_not_in_the_good_way
3. And finally, the script is not close to the novel:
http://screenrant.com/world-war-z-movie-book-differences-discussion-kofi-127543/
All that being said, the book is told in retrospect from different points of view, somewhat similar to Robopocolypse. How do you film something like that and deliver any sense of story continuity in two hours? It’s more suited to a good HBO mini-series. Steven Spielberg is directing Robopocolypse. It will be really interesting to see how both films are handled.
MORE HDR PHOTOS, RAW AND WHITE BALANCE
We went out early this morning right after the sun came up to the Royal Oak train station. Here are a few HDR shots.


This is a derelict loading docket in the deep south end of Royal Oak. I drove by it earlier in the week and thought it would make a good shot.

As usual I took three exposures for each scene, one shot two stops underexposed, another normal exposure, and another two stops overexposed. I recorded the shots in RAW mode. RAW image files, unlike TIFF or JPEGS, captures all of the data from a camera’s image sensor. It also allows for accurate image post-processing and correction. Things like white balance, saturation, contrast and sharpness are easily corrected, where you have to fiddle around with JPEGS to correct them, if at all.
I’m glad I shot the scenes in RAW mode, since I forgot to set the white balance correctly. Last night I was playing with the white balance settings and left it set on tungsten. That’s good for shooting indoors by incandescent light, but terrible for shooting outdoors in the morning. When we got back home I downloaded the photos and every shot was blue-tinged. We spent a couple of hours shooting and the light was good, so we couldn’t go back and reshoot. This was easy to fix. In the editor (Canon Digital Photo Professional) I just changed the white balance to ‘cloudy’ and the colors returned to what I saw in the viewfinder. If I hadn’t shot the scenes in RAW, I would have been in big trouble.
The Good:
– RAW mode captures the image on a camera sensor with very little processing.
- Correcting an exposure is a lot easier in RAW mode.
The Bad:
- RAW files are at least 2 to 6 times larger than JPEGs.
- Can’t take as many pictures.
- Takes up tons of disk space on your computer.
I use an external hard drive to store RAW files. Also, with each shoot I create an accompanying Word document detailing the location, exposure values and tone mapping settings so I can accurately duplicate scenes that come out well.
So what is white balance? It’s how your camera interprets white. Think of it as kind of a zero point for color. If the zero is set correctly, the colors will be correct. If not, the colors will be offset or skewed, like my blue-tinged exposures were. Most digital cameras have a white balance adjustment. My main camera is a Canon T2i (or 550D outside the U.S.), but even my little 125 dollar Nikon Coolpix has a white balance adjustment. Try using it- it’s easy and you will notice a big difference in your digital photographs.
BASIC HDR PHOTOGRAPHY
I’ve been wanting to do HDR photography since I saw my first HDR picture. HDR stands for High Dynamic Range Imaging. It’s a method of heightening image intensity, and it’s not that tough to do.
Here’s the first HDR photo I’ve ever taken. It’s of our living room.

The living room pic took about a minute to produce on free software.
You will need four things to create basic HDR photos.
- A digital camera that can bracket exposures.
- A tripod.
- A decent computer (preferably a Mac).
- HDR processing software.
The first step is to set up your digital camera for automatic exposure compensation. This is commonly known as bracketing exposures. This means that you take one picture at correct exposure, one overexposed and another underexposed. You will need to take at least three shots at different exposures to create an HDR image. Why three shots? They come close to capturing the full range of light of your subject. If you have a dark foreground, then the sky may be washed out. If you compensate for the bright sky, then your foreground will be dark, and so on. HDR processing will blend the three shots together to produce a wider, fuller spectrum, therefore intensifying your image.
I have a Canon t2i that automatically brackets three exposures. I usually set the range at two stops, that is two stops overexposed and two stops under exposed. I press the shutter release three times to capture the set of images.
You don’t have to have an expensive digital camera to bracket exposures. I also have a little Nikon Coolpix 3100 that can easily bracket exposures, although it’s a manual process.
When you find a scene you want to photograph, use a tripod and a cable release if you have one. One of the problems with HDR photography is incorrect image overlap. Pressing the shutter release can bump and shake your tripod, messing up your set of images. Even worse if you hand-hold your camera.
Before taking your photos you should set your camera to aperture priority mode. This maintains consistent exposure and depth of field. It isn’t a show stopper if your camera doesn’t support aperture priority mode, but it does make a difference in the final image.
So now that your pictures are taken it’s time to load them onto your computer and process them. So what’s a good program to use without spending an arm and a leg? I recommend luminance-hdr. It works really well, is easy to understand and is FREE. luminace-hdr is built on open source software and takes about three minutes to download and install. It’s available for Mac and Windows operating systems.
Once inside luminace-hdr a creation wizard walks you through the steps to create and process an HDR image. You load in your three images then click Next. Remember to check the autoalign box. This makes sure your three images line up correctly.
As the wizard moves along you’re presented with a list of predefined profiles that condition your image. After this completes comes the fun part where you Tonemap your new composite image. luminance-hdr provides nine different operators that you can fiddle and experiment with. And you will, for hours.
HDR photography, which was so mysterious to me now makes sense. It’s easy to go overboard using the effects because they’re fun. Like any other tool, photographers learn to finesse HDR images by using less rather than more, and that’s what I want to learn how to do. All it takes is practice.
Here’s a few images I took and processed today.
Wagner Park, Royal Oak, Michigan:

Wagner Park, Royal Oak, Michigan

Back Yard Chairs:

Wagner Park, Royal Oak, Michigan

Scouting Detroit Locations
Here are some shots from around Detroit. I’m scouting potential scene locations for the next Detroit-based novel.
This is the fountain in the middle of Hart Plaza.

This is the circular sculpture at the Hart Plaza entrance.

Here’s Port Detroit next to the RenCen.

Here’s a shot of the RenCen.

Here’s a shot looking down Woodward Avenue.

About
Welcome to John Silver’s blog. I’m John Silver, a Detroit based thriller writer, author of The Day Detroit Went Dark, The System – A Detroit Story, Reckoning in Escobara , Thomas Edison: RESURRECTOR and The Field. This blog contains book and movie reviews, posts about writing, hot (or not) scripts, movies, deals and writers, and what’s currently or rumored to be in production.
The blog also contains interesting things I’ve found researching my books.
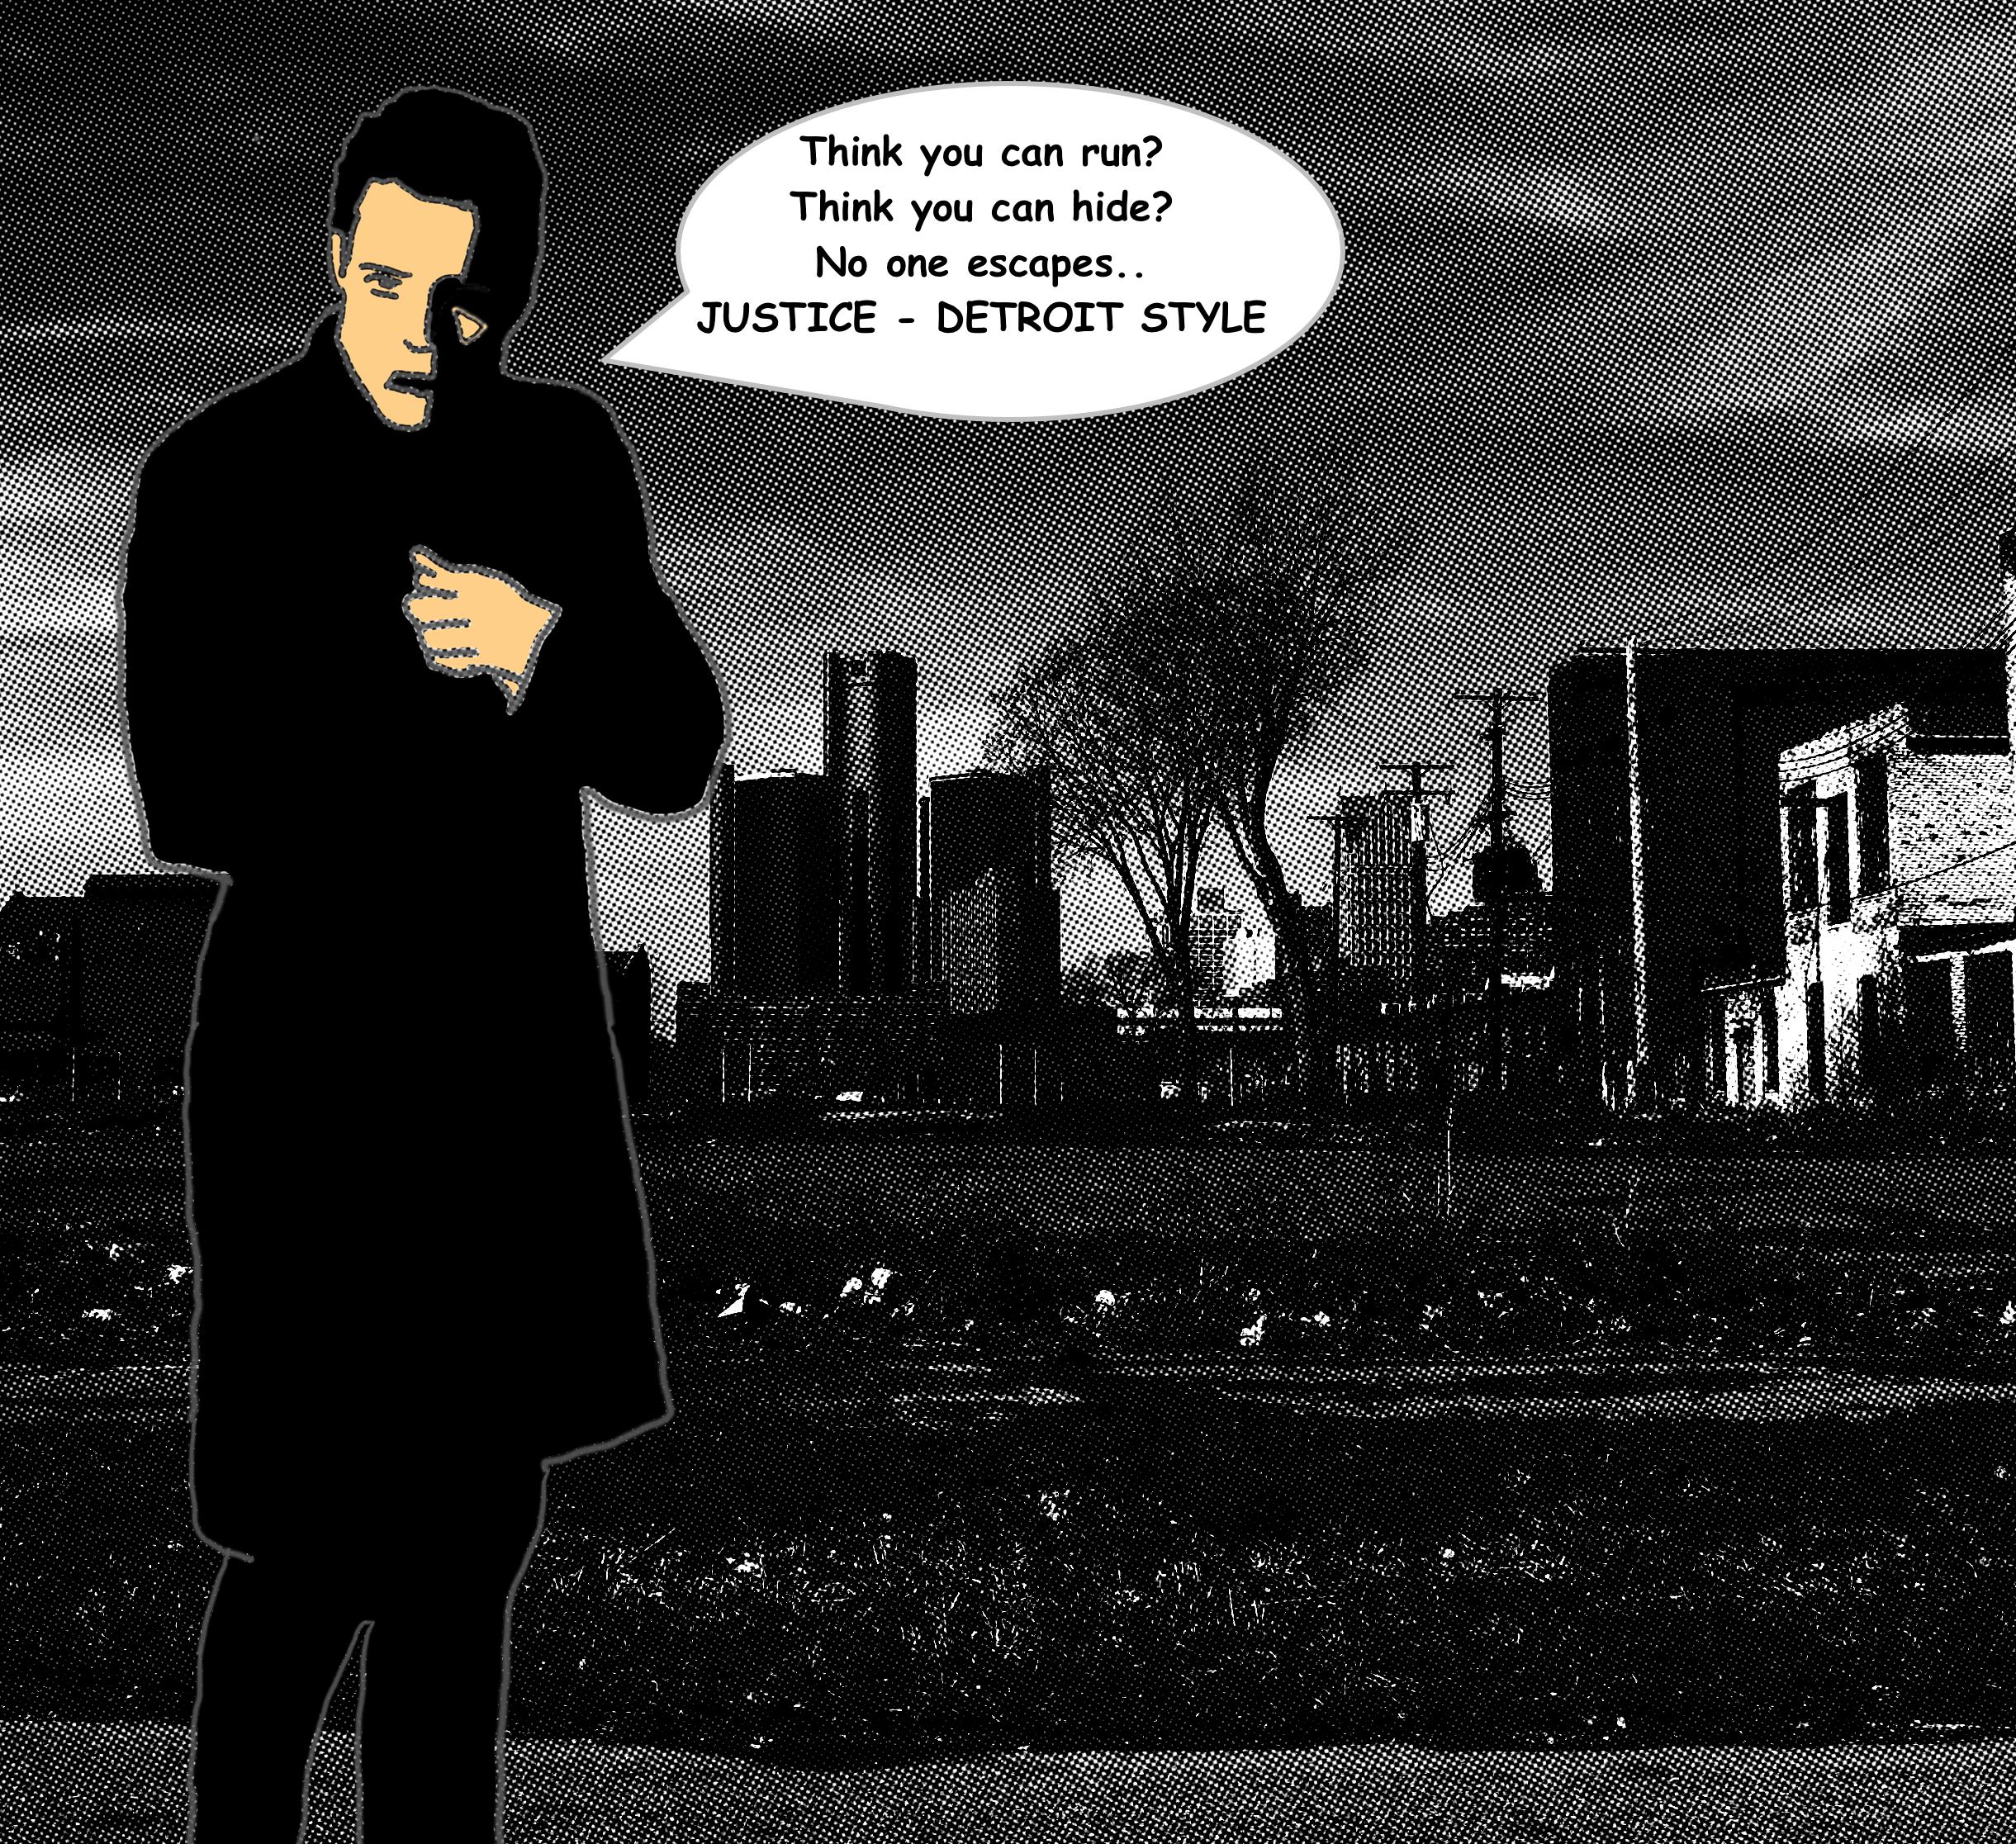
The Field
The Day Detroit Went Dark
The System – A Detroit Story –

Reckoning in Escobara (the sequel to The System)

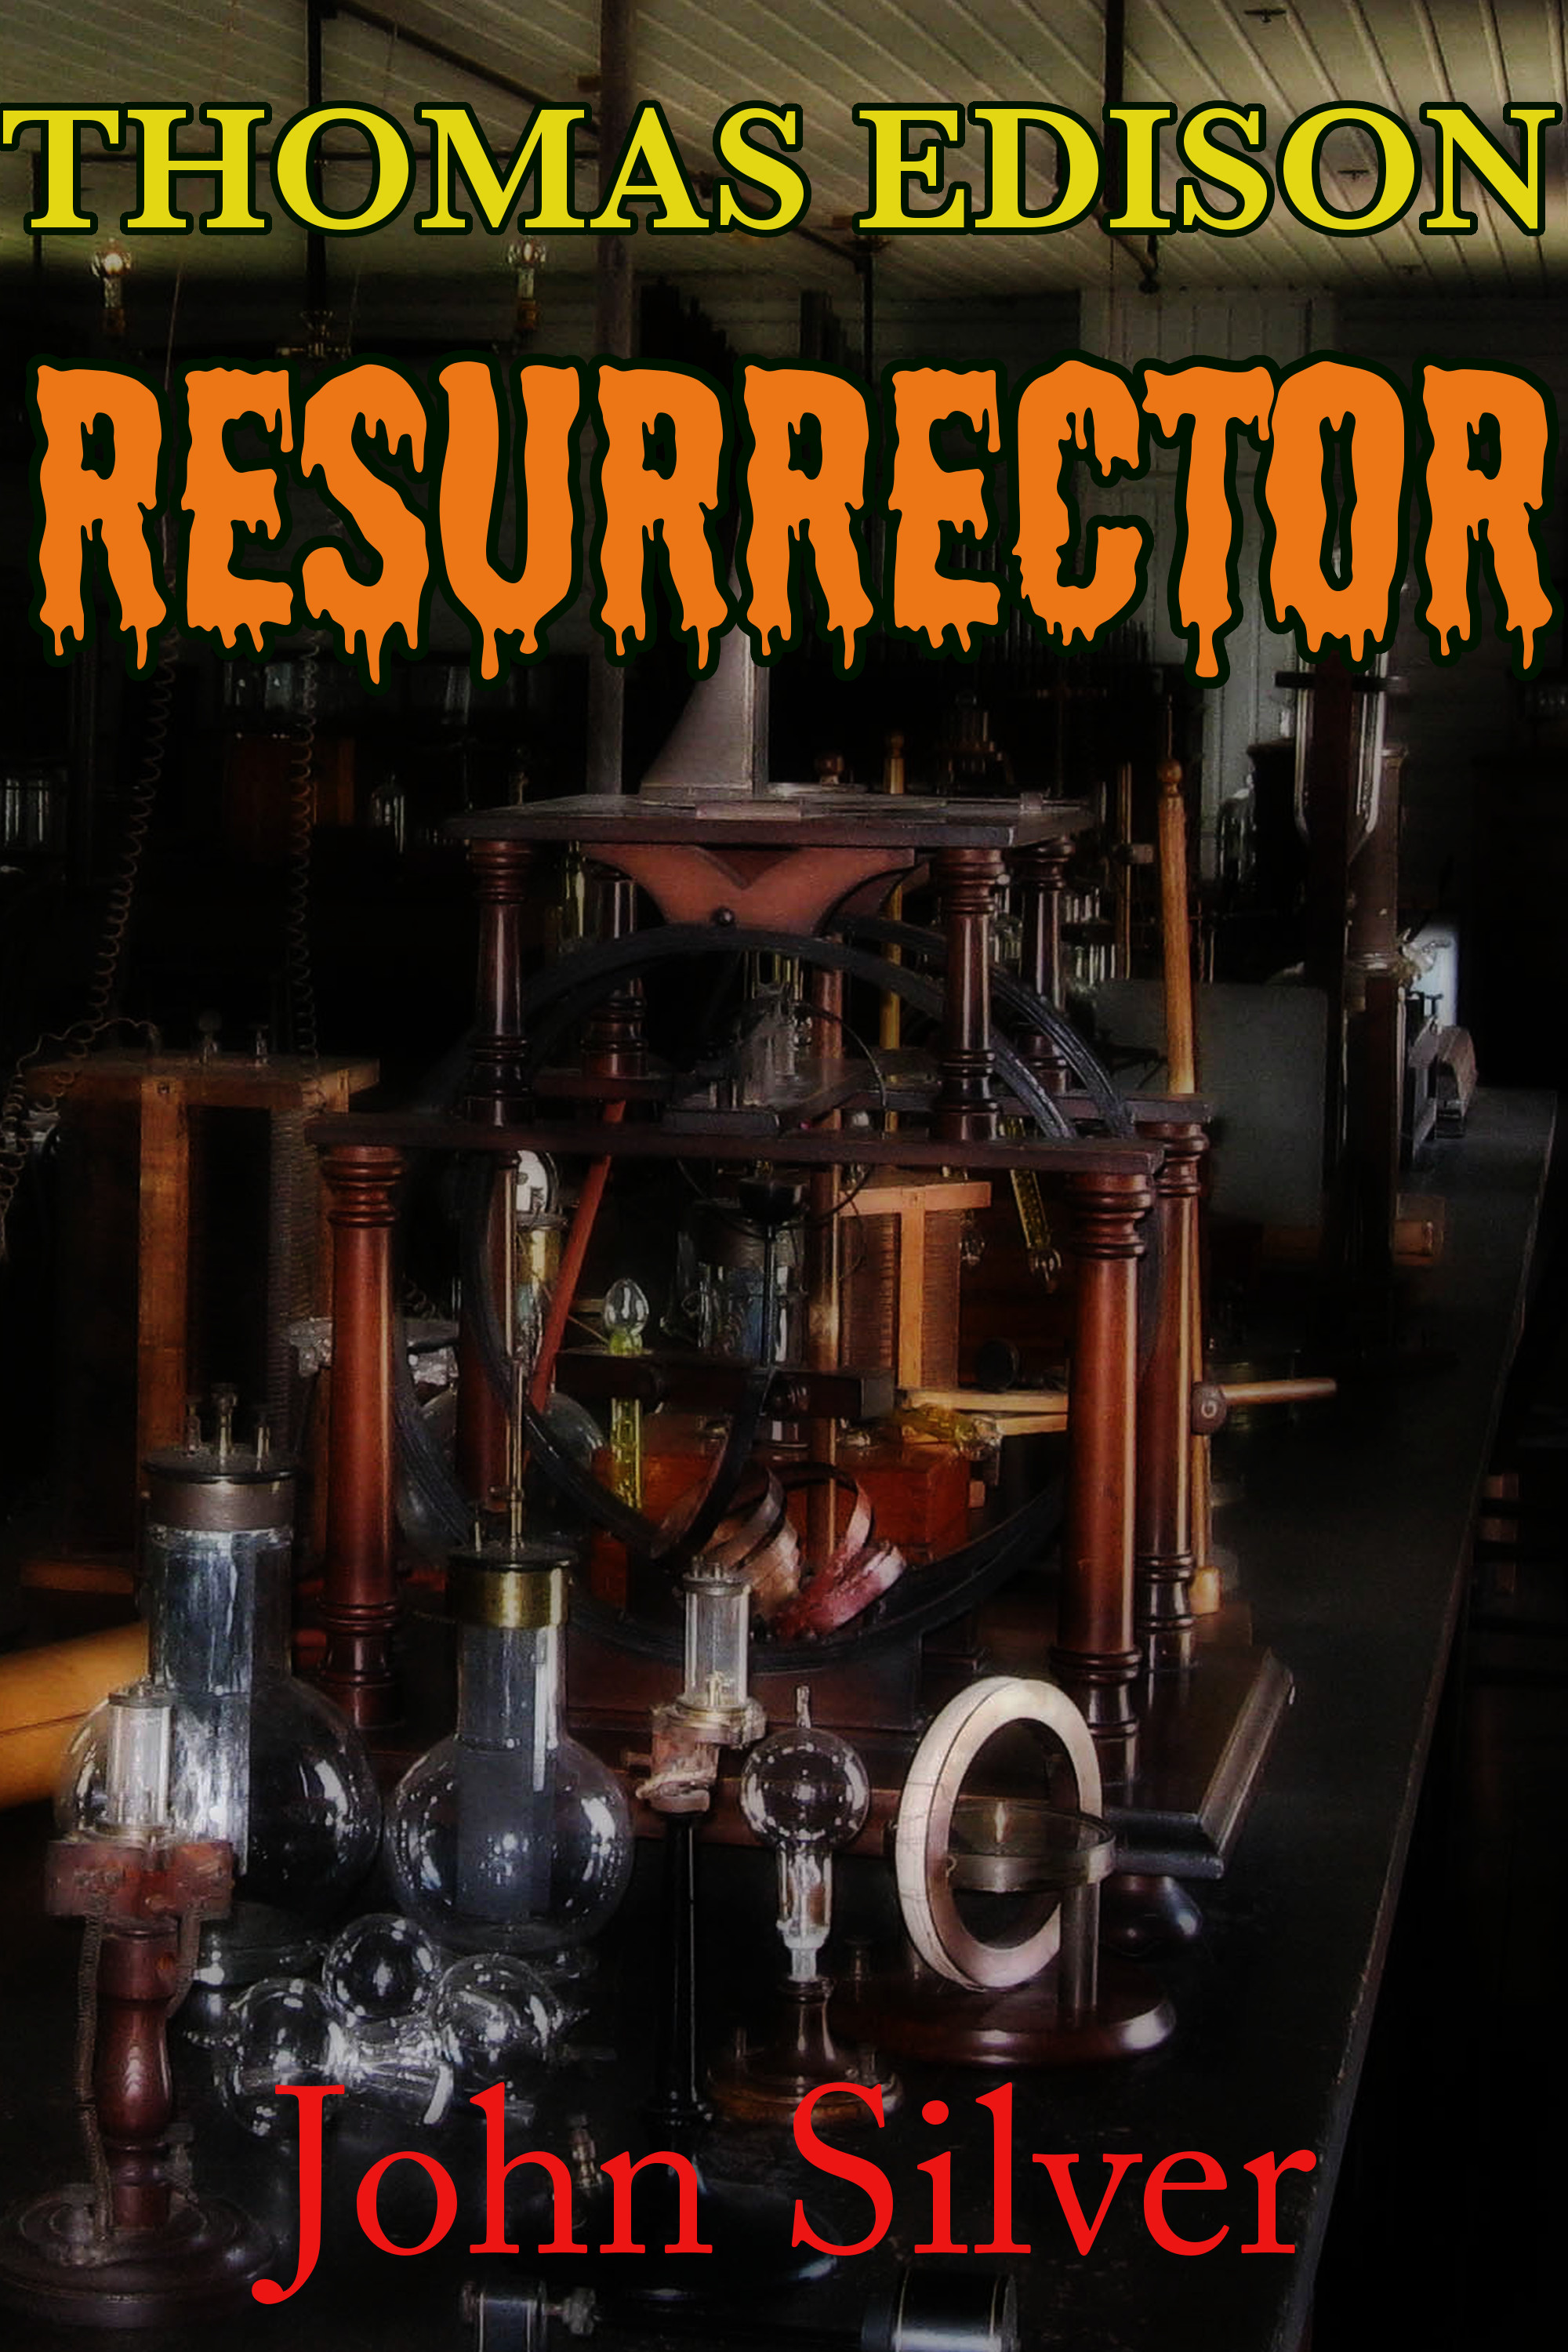
Thomas Edison: RESURRECTOR
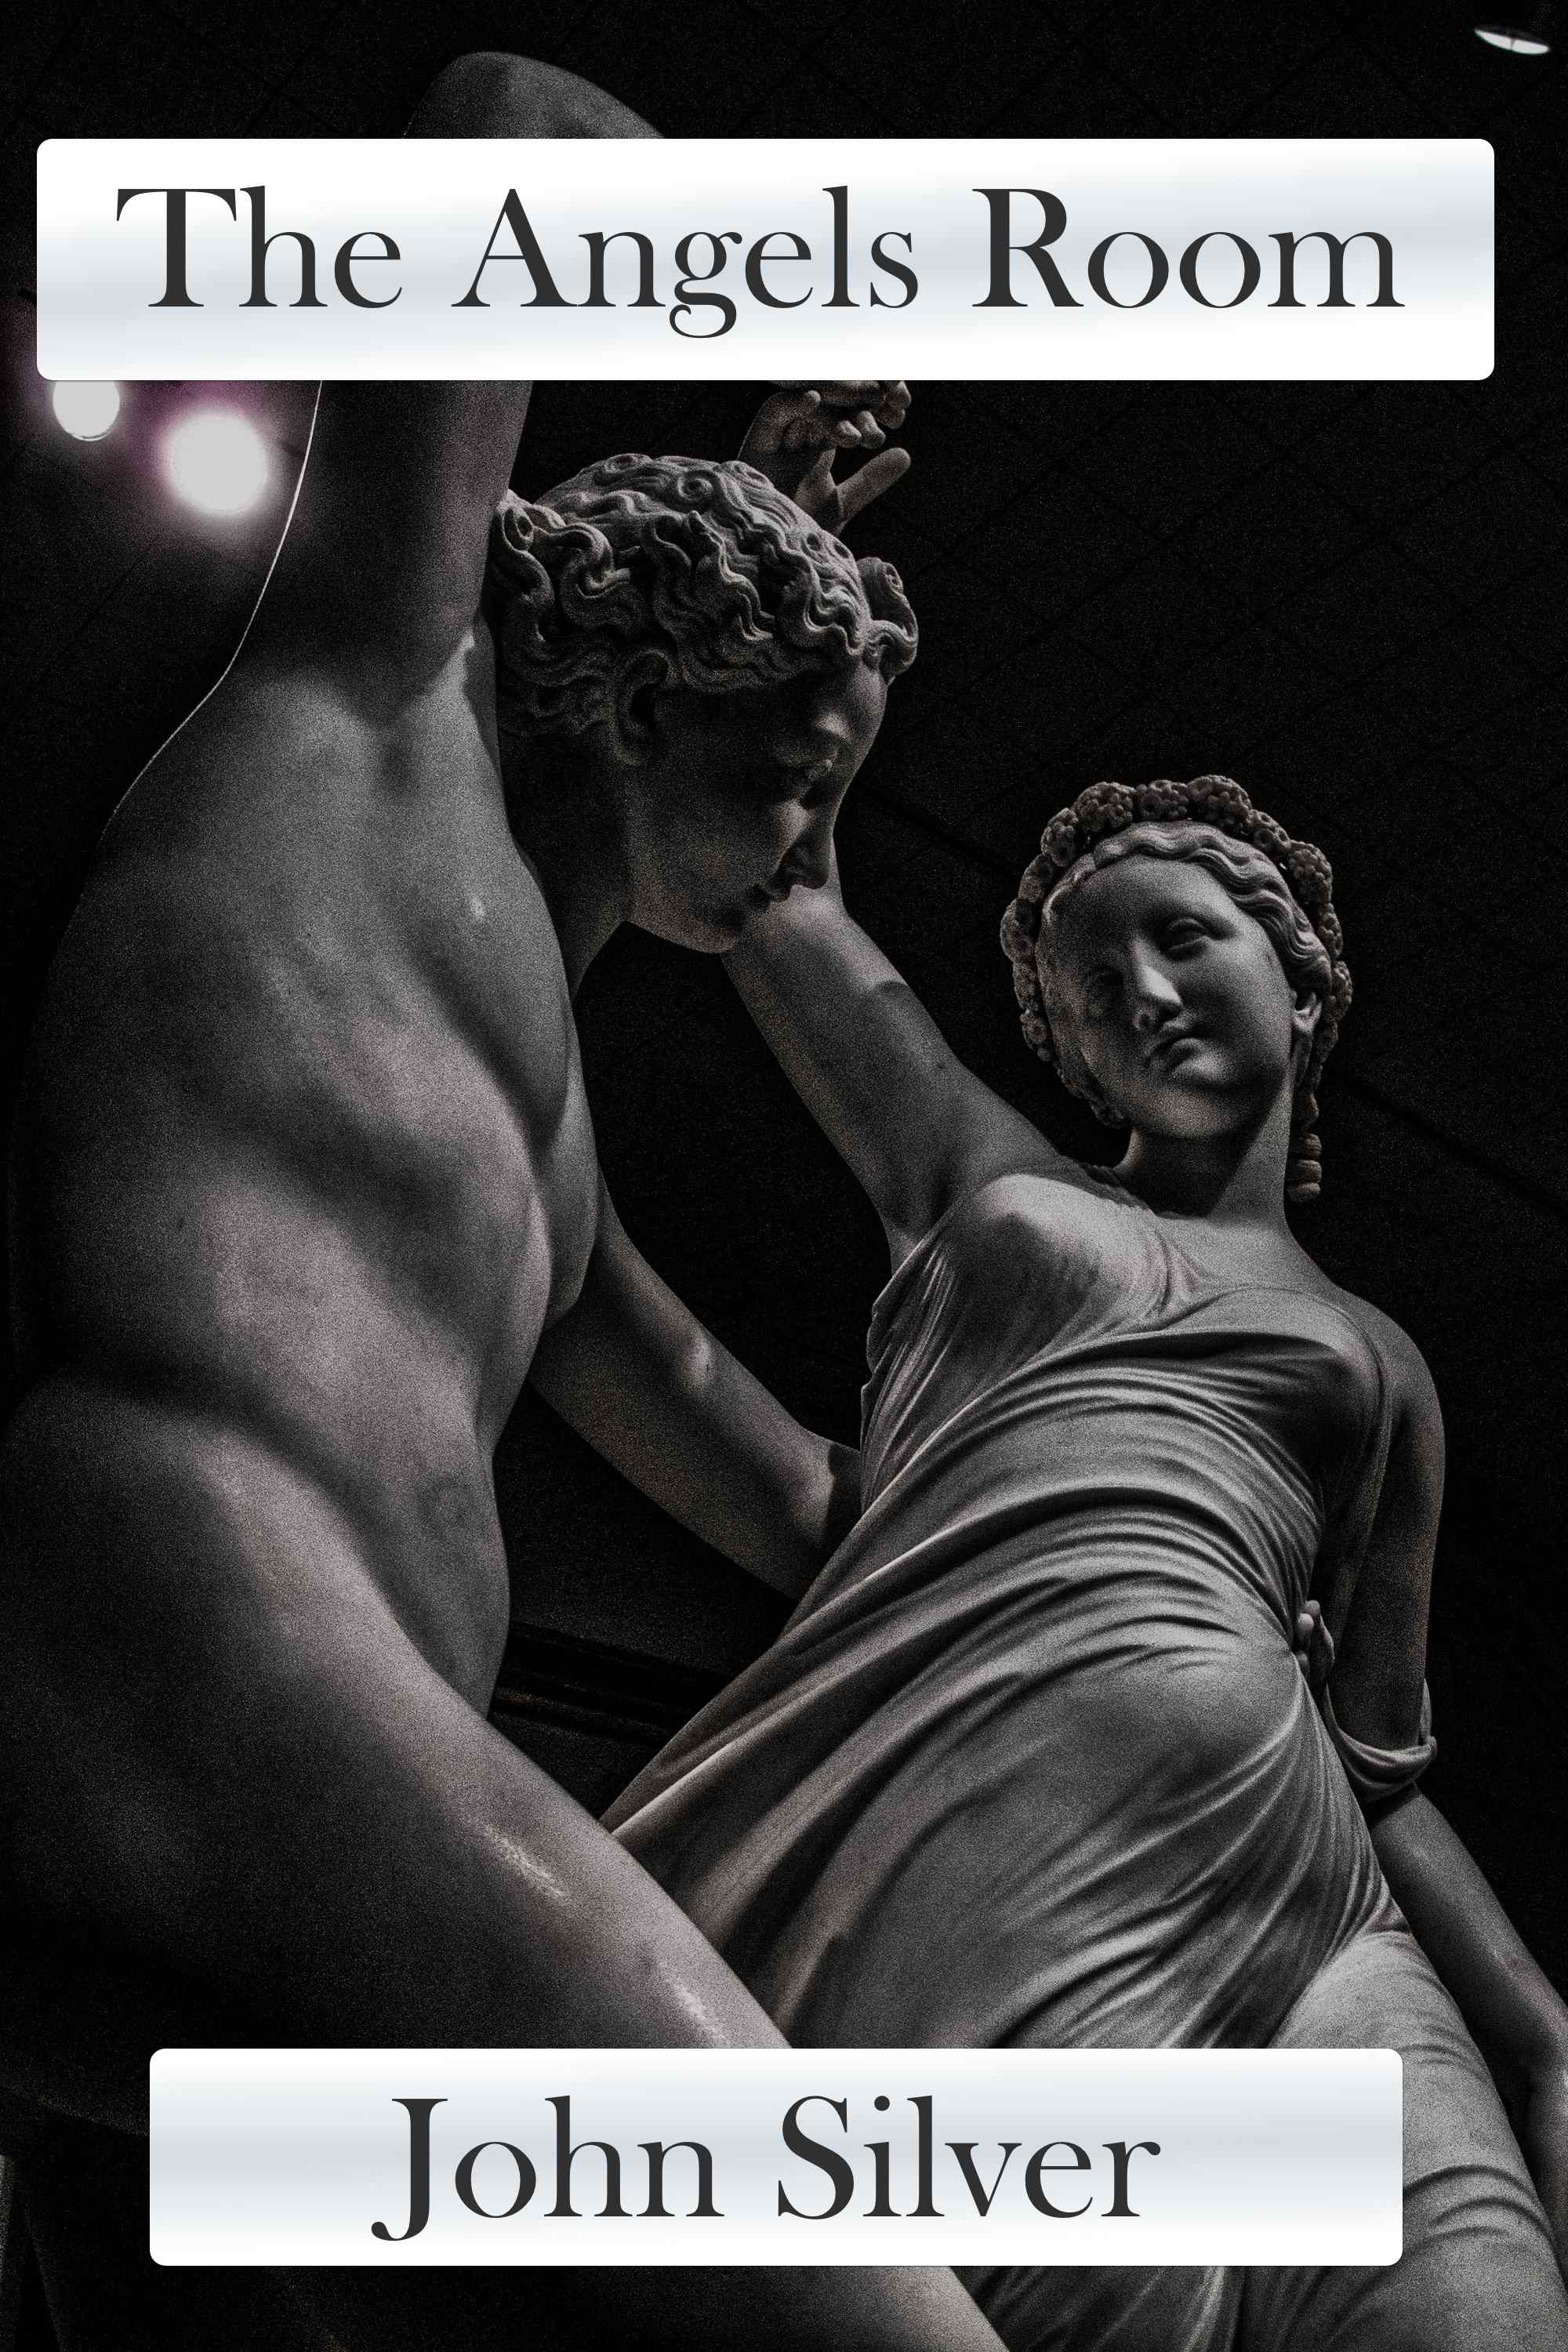
The Angels Room (coming in 2015)
SITE Z (coming in 2015)

Visit me on Facebook!
![]()
Create Your Badge
-
Archives
- March 2015 (1)
- January 2015 (1)
- December 2014 (6)
- November 2014 (2)
- October 2014 (4)
- September 2014 (2)
- August 2014 (1)
- April 2014 (1)
- March 2014 (1)
- February 2014 (4)
- January 2014 (6)
- December 2013 (7)
-
Categories
- Art
- audiobooks
- black friday violence
- Book Reviews
- Books
- bourbon
- cinematography
- Comics
- Creative Process
- Detroit
- Detroit crime
- Detroit Poverty
- digital photography
- education
- electronic music
- Film making
- Graphic Novels
- HDR photography
- horror
- Internet Radio
- jukebox musicals
- media
- Modern Culture
- Movie Reviews
- Movie Trailers
- Movies
- music
- News
- oil painting
- On Writing
- pencil drawing
- Performances
- photography
- Radio
- Rescue Dogs
- retro
- Reviews
- Science
- stage plays
- Tech
- Tech thrillers
- Technology
- The System Podcast
- Thomas Edison
- Thrillers
- Titanic
- Titanic exhibition
- TV
- TV Reviews
- TV Series
- Uncategorized
- Winter 2014
- World War II
- Writing
- Writing Fiction
-
RSS
Entries RSS
Comments RSS
